How to Install Your Hide and Seek / Gumnut Kids Cubby Wallpaper
At Little Abodes Interiors (L A Interiors), we’re proud to continue the legacy of the beloved Minnie and Me Interiors wallpaper designs—now exclusively produced and delivered by us! This curated cubby collection features the magical styles you know and love, reimagined under our new brand, and tailored perfectly to fit Hide and Seek Kids and Gumnut Kids cubby houses.
These whimsical wallpapers are designed to spark imagination and bring charm and joy to your little one’s play space.
🛠 What You’ll Receive
When you order, your wallpaper will arrive in panels with a 1cm overlap on each side, making installation easy and seamless. Each set is cut to suit the feature wall of your chosen cubby house—including a slight bleed on width and height to allow for cubby-to-cubby manufacturing differences. No need to measure or stress—just select your cubby model from the dropdown at checkout, and we’ll do the rest!
📦 What You’ll Need
Cubby walls aren’t smooth enough for direct wallpaper application, so you’ll need to create a flat surface first.
We recommend:
-
Corflute – Our go-to choice! It’s lightweight, easy to cut, and super user-friendly.
-
Pre-painted ply – Another suitable option.
-
USA customers: Perforated plastic is a great alternative.
🛑 Note: You do not need to use Vipond’s Prep Coat on corflute—this only applies to painted walls.
🧩 Installation Steps
1. Prepare the Corflute
-
Measure your cubby wall and cut your corflute to size.
-
If needed, join two sheets using thin tape—just make sure the surface stays smooth.
2. Attach the Corflute
-
Use heavy-duty double-sided tape to secure the corflute to the cubby wall.
-
Wipe it down with a dry, lint-free cloth to remove dust before applying the wallpaper.
3. Install the Wallpaper
-
Peel, stick, smooth, and trim—just like you would on a full-sized wall!
-
For a full how-to, check out our Wallpaper Installation Guide (from the original Minnie and Me Interiors archive).
✨ Pro Tip from the Cubby Queens
Want that classic "picture rail" effect?
Try wallpapering above and below the cubby’s white beam! It’s easier and super cute.
-
Top Section: Cut a triangular corflute piece to fit the peak. Wallpaper it, then stick it into place.
-
Full-Wall Option: Cut the corflute to mirror the shape of your cubby (like a little house) and apply the wallpaper from bottom to top.
🎥 Need a visual? Watch this installation video on Instagram.
🖼 Using Wall Decals in Your Cubby
Want to add a bit more magic? Our wall decals (also inspired by the original Minnie and Me range) can be applied directly to painted cubby walls. No smooth surface required—press them into the grooves or smooth them over for your desired look.
🌤 Using Wallpaper Outdoors
Yes, our wallpaper and decals can be used in outdoor cubbies! To help them last longer, keep these tips in mind:
-
Protect from weather as much as possible—sun, wind, and rain will naturally cause wear over time.
-
Make sure your cubby is sealed and painted properly.
Refer to Hide & Seek Kids’ painting tips. -
Keep the adhesive backing clean and free of dust during install for a stronger hold.
💛 Supporting Small Business
Hide and Seek Kids and Gumnut Kids are proudly family-owned—just like us at L A Interiors. We’re honoured to continue the magic of the Minnie and Me Interiors wallpaper range, keeping the designs you love alive while bringing our own passion and service to the next generation of little dreamers.
🛒 Ready to shop their beautiful cubby houses? Visit:
hideandseekkids.com.au
gumnutkids.com
Happy decorating!
If you’ve got questions or need help choosing the perfect design, reach out anytime. We're always here to help bring your vision to life. 💫
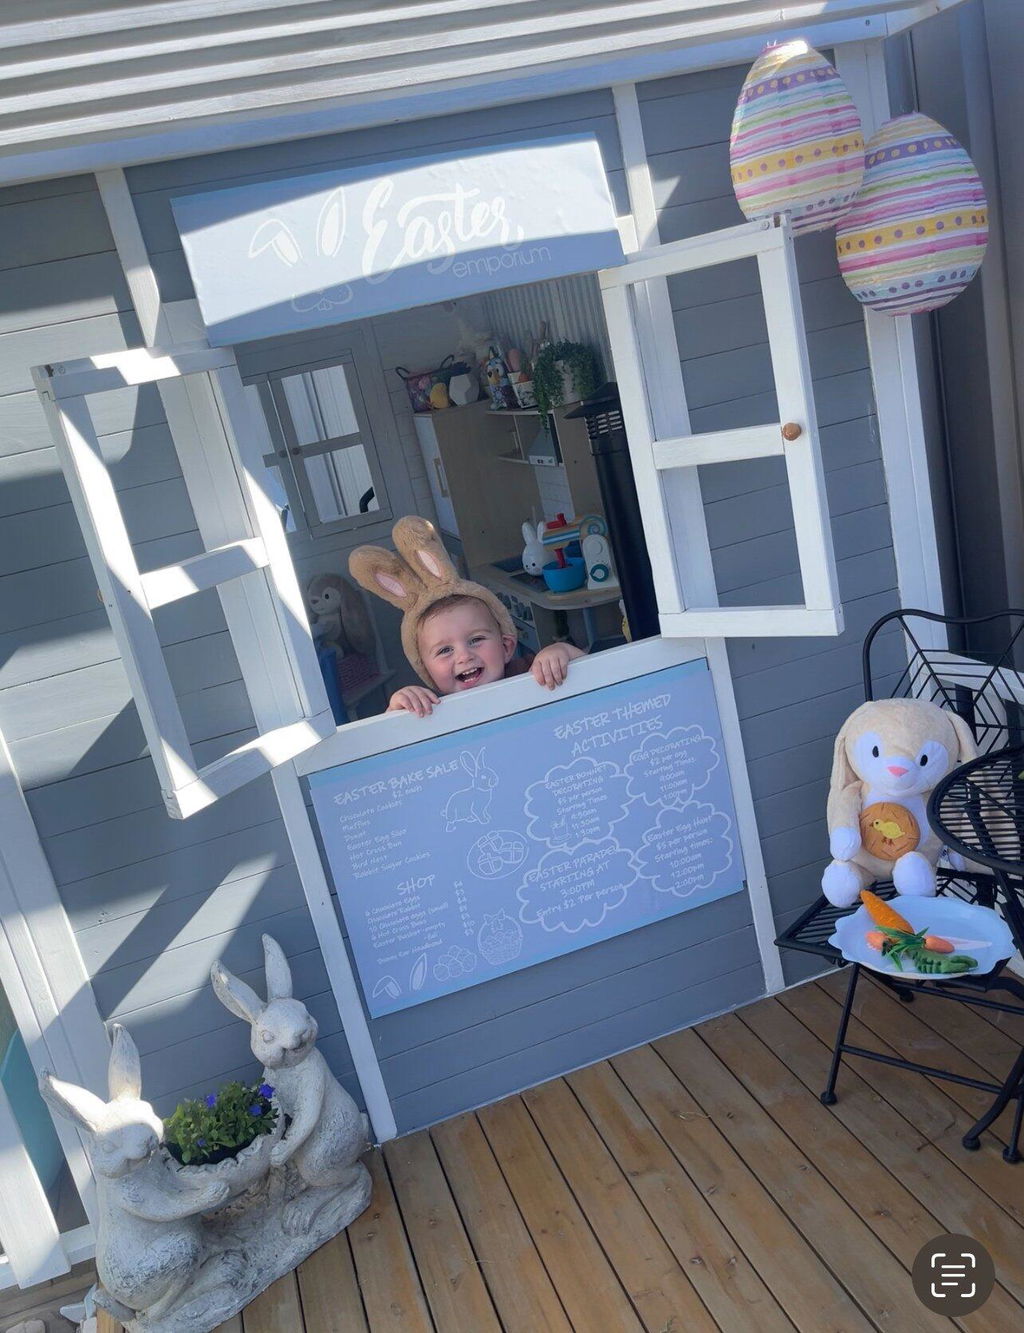
Image 1: the wallpaper in installed both above and below the white beam.

Image 2: The wallpaper is installed below the white beam only.