
Absolutely love our personalised magnets! They have added so much colour, fun and personality to my children’s room. The quality is fantastic, and they were even better than I expected. It’s such a simple way to make a space feel special and unique to each child. The service was wonderful. Highly recommend supporting this business! I will be back to order more.
Absolutely love our personalised magnets! They have added so much colour, fun and personality to my children’s room. The quality is fantastic, and they were even better than I expected. It’s such a simple way to make a space feel special and unique to each child. The service was wonderful. Highly recommend supporting this business! I will be back to order more.
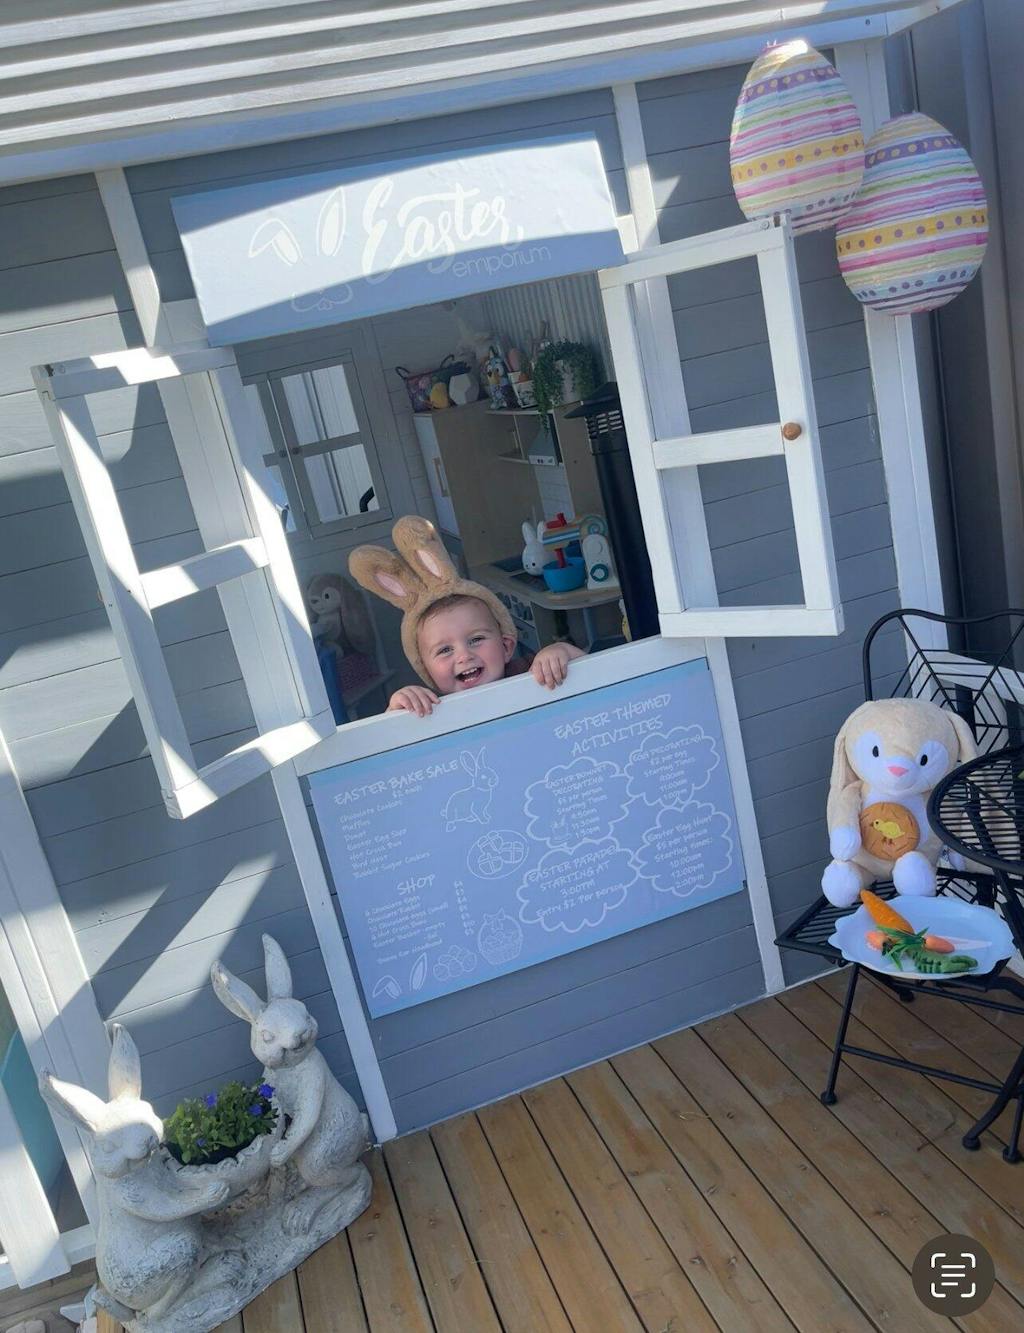
Such a magical addition to our little Easter play setup!
The Easter Shop Front Decals are beautifully designed and instantly created a fun, imaginative space for the kids. We don’t actually have an IKEA DUKTIG kitchen, but the decal still worked perfectly for us — we placed it on the side of our hide-and-seek cubby and it fit the space beautifully.
It was easy to apply and really helped bring our Easter play area to life. We absolutely love it and it has sparked so much imaginative play. Such a sweet and creative product! 🐰🌸
This wallpaper is absolutely stunning. I can't wait to use it in my daughter's bedroom.
Love the quality of the letters received and the colours are true to what was ordered, Will but again